Backyard Garden Grower
Plan, grow, work, watch, and eat
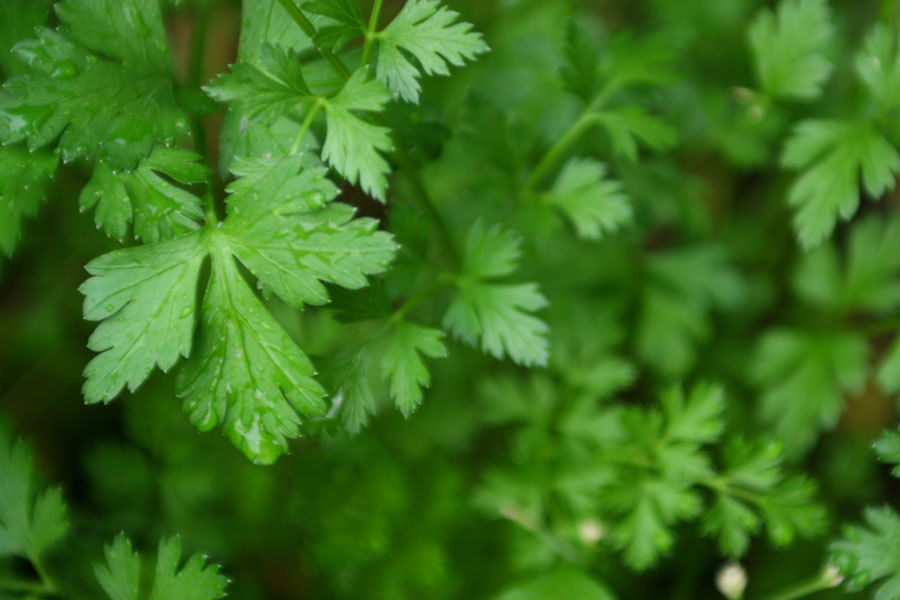
Starting your seeds can be an overwhelming experience, but it is an exciting first step to having your garden.

Step 1 - Some seeds can be started before going into the garden, and some prefer to just be planted straight into the garden, or direct sow. Sometimes this information comes on the packet of the seeds itself. Plants that can benefit from being started early include:
Tomatoes
Peppers
Sweet Peppers
Watermelon
Cucumbers
Pumpkins
Squash
Celery
Other plants really should be sown directly into the garden. These include:
Carrots
Potatoes
Herbs
Sweet Potatoes
Onion
Corn
These lists are not hard and fast rules. If you are extremely careful you can transplant just about any plant you wish. However, for an item such as carrots it is extremely impractical to transplant, as one square foot can hold 16 or so carrots and have no need to be started indoors early. Tomatoes on the other hand can benefit from early starting, and are transplanted easily, so this makes them ideal for starting early.
Step 2 - There are a variety of seed starting methods. In elementary school you have used beans in a paper bag with a wet napkin to start your planting. One of the easiest ways to start your seeds however is with small peat pots, like these. They are small enough where you can start a lot of plants, and make sure you get all the varieties for that year's garden.

Step 3 - Add seed starting mix to each peat pot. You will need to fil them at least 3/4 full, but not to the very top. You can use the top lip as the line that you need to get too. Before planting your seed try to get your mix wet. You can do this by adding water to each peat pot or by watering the bottom of the container. If you try to water from the top you will notice each pot will not hold a lot of water initially and you may lose some of your mix. An easier way to water, and a great feature of peat pots, is that you can water the container holding the pots, and the water will wick its way up the pot and soil. This may take some time, usually a few hours, and the first time takes the longest. This will however give your seeds a great environment to start in. Also by watering from below, you can reduce the chance of getting dampning off, as the surface of the soil stays dry and thus is not a great site for microorganism growth.

Step 4 - Plant your seeds. Plant 1-3 seeds per pot. You will almost never get 100% germination of your seeds, so having multiple per pot gives you the best chance of making sure you get one plant per pot. You can always later separate the seedlings or just pick the strongest one and snip the rest. Also be careful planting your seeds to the correct depth. On some seed packets it will tell you the depth to place your seeds. If nothing is mentioned, you can use the rule "twice as deep as the seed itself." So if the seed is large, like a pumpkin seed, and measures 1/2in, plant it about an inch deep. Small seeds like carrots and lettuce will basically be sitting under a very small amount of soil. This is fine and they will sprout normally.
Step 5 - Watering should be down from a bottom-up approach. You can know when to water by feeling the peat pots. If the pot is wet, you're fine. If the pot is dry and hard, you'll need to water.
Step 6 - Depending on where you start your seeds, you may need a heating mat to keep them warm. These mats allow the seeds and soil to be at optimal temperature for them to sprout. Some have advocated putting the seeds above the refrigerator. This may work, but keep in mind not all refrigerators have warm tops, so check yours and make sure. The optimum temperature for each plant can slightly vary, but aim for 70-80 degrees Fahrenheit and you should be fine.
Starting seeds in peat pots is benefited by using special starter soil. This seed starting soil is different from regular soil in a few ways. First is that it is sterile. This important as dampning off, a condition caused by multiple microorganisms, can kill seedlings very easily and quickly. The sterility makes sure you get the best chance of getting seedlings started correctly. It also does not contain nutrients. Seeds contain enough nutrients inside of them to last until the plant has a couple true leaves of their own. As an example, the picture of the two peat pots with zucchini you see two types of leaves. One set looks oval shaped and smooth, those are not true leaves. The other are more leaf like and jagged. Those are the true leaves. Plants are able to grow quite well to this stage without the use of nutrients and using only what was in their seed.